1
Install the Python SDK
Add Skybert to the environment where your agent runs.
uv add skybertRecommended for modern Python projects.

Install Skybert, connect your LLM provider through Pi, then use the Skybert CLI in your terminal to build your agent.
Add Skybert to the environment where your agent runs.
uv add skybertRecommended for modern Python projects.
Skybert uses Pi for the guided build flow. Install Pi, then use Pi's provider login for the model stack your agent will use.
npm install -g --ignore-scripts @earendil-works/pi-coding-agent
pi
/loginCreate a new folder for your agent and then simply launch skybert in that folder to start building. If you have any documents or data that you think might be useful for Skybert to understand your business need, just drop these files in that folder before launching.
mkdir my-first-agent
cd my-first-agent
uv init
uv add skybert
skybertThe fullscreen workspace opens locally. Choose Build new agent, answer the prompts, and let Pi create the agent code with Skybert instrumentation.
If you already have a working agent that you would like skybert to Optimize, select Add existing agent instead. Make sure you launch Skybert from the same folder that contains your agent code.
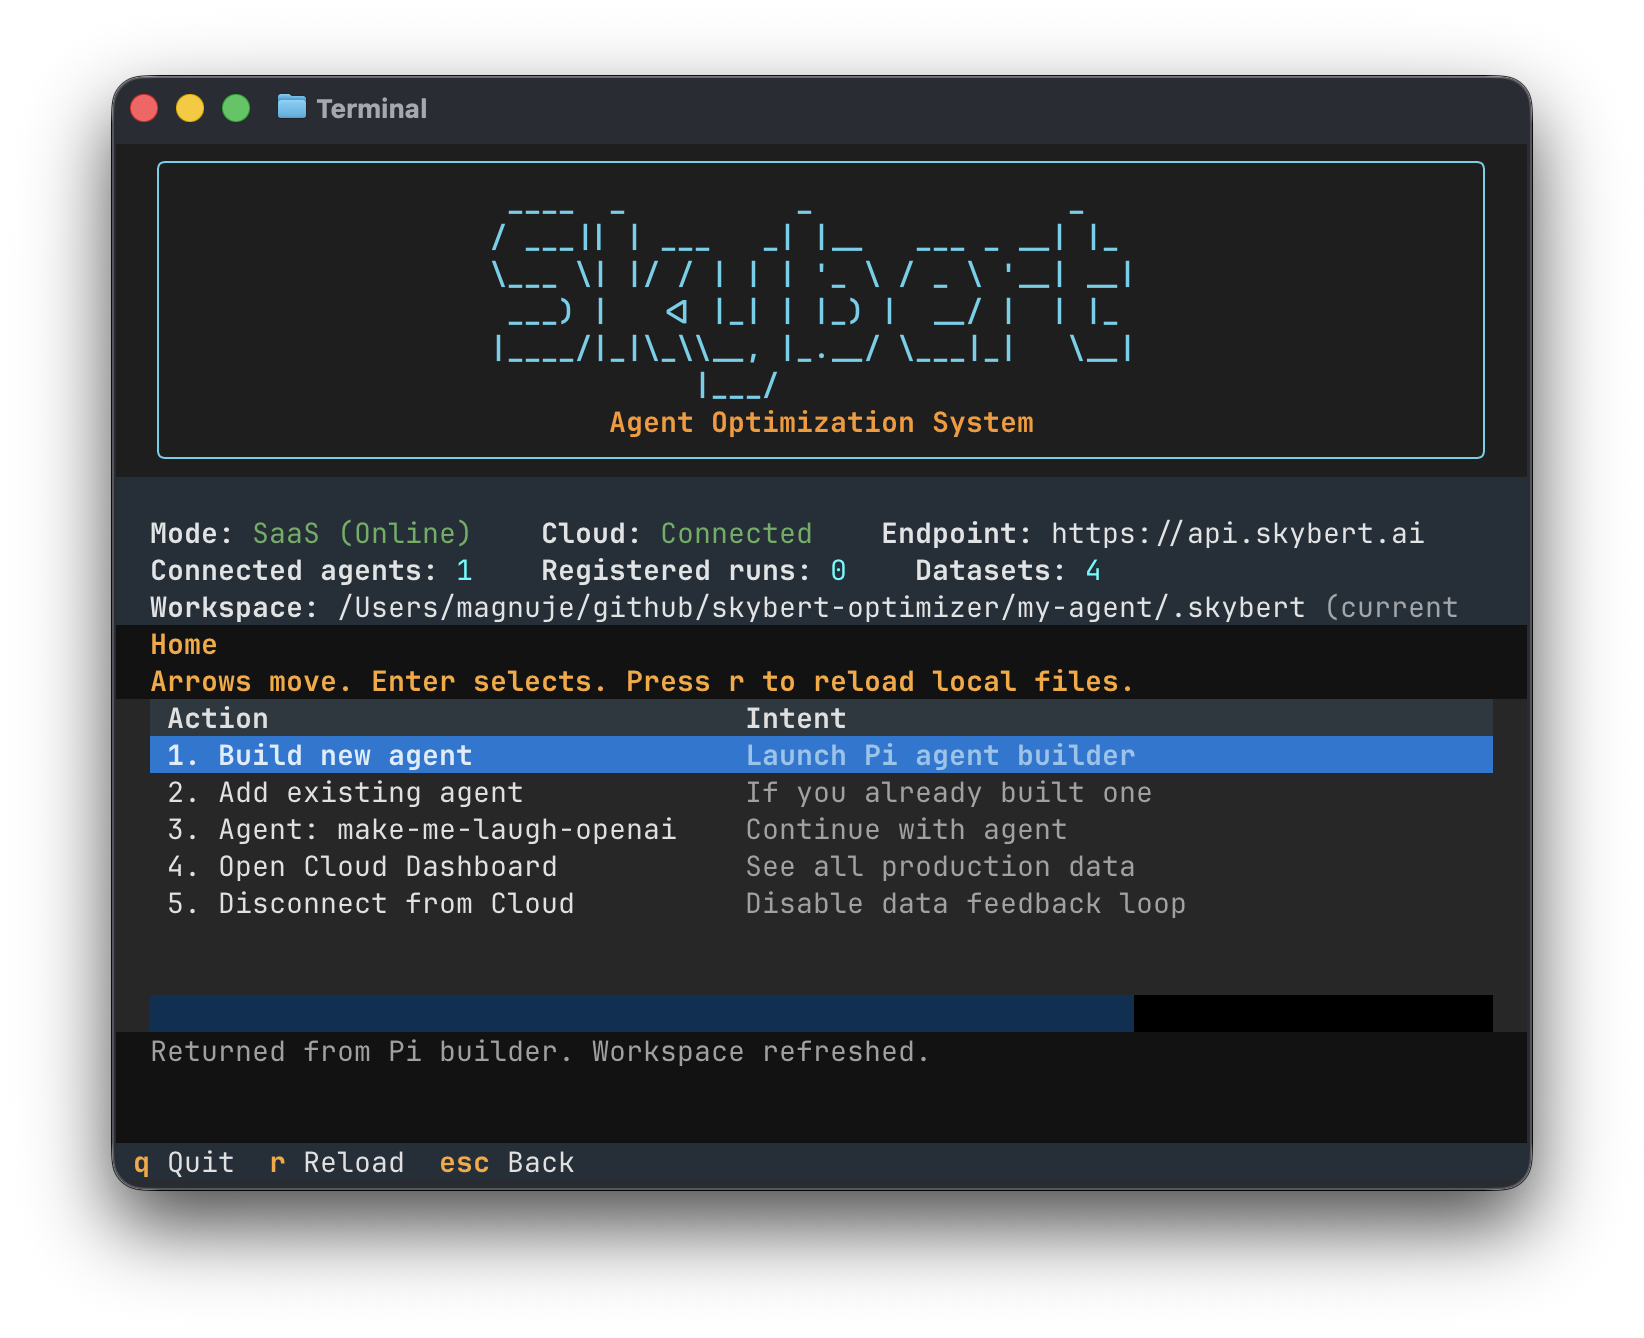
.skybert/; improvements happen as code changes that you ship through git.
Cloud is not required to build locally. Connect when you want to collect production data, annotate datasets, team collaboration, and version monitoring.
skybert login